
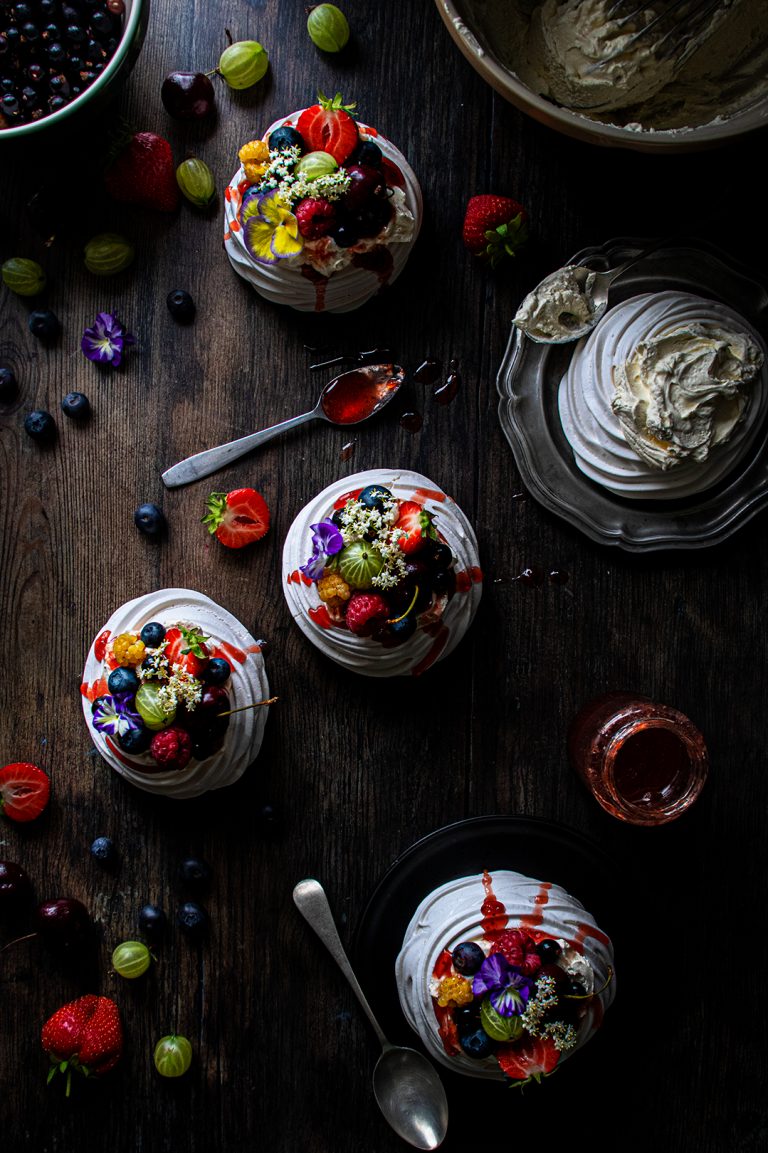
Mini Pavlovas

What’s the one dessert that you associate most with summer? For me, hands down, it has to be a crunchy, pillowy, cream & fruit filled pavlova! So simple to make (in essence you only really need 4 ingredients for a basic pav) yet so wonderful to eat. If you’re a little daunted by the thought of making a full blown large pavlova, which have a tendency to crack & break a lot more easily, then these mini ones are for you!

A meringue nest, which is as equally crispy on the outside as it is chewy on the inside, filled with a mountain of whipped cream, a drizzle of sweet strawberry sauce & crowned with the season’s most colourful fresh fruit, can you see why these mini pavlovas are a real crowd pleaser? I’ve always considered pavlovas to be ugly but pretty, the sort of ugly duckling if you will, of the dessert world… It’s far from refined, there’s no fancy ornateness or precision here yet it’s still so beautiful & indulgent looking. They’re even better when in mini form as everyone can have their own perfect little dessert without ruining that beauty to cut it up into slices.

They’re definitely a go-to dessert for entertaining over the summer as you can make the meringue nests ahead of time & simply fill & load them up with fruit later, plus you can switch up your toppings to suit everyone or simply to use whatever you’ve got to hand, which is usually the case here.

Mini Pavlovas
- Author: Katie Lewis
- Yield: 8 mini pavlovas
Ingredients
For the meringues:
- 350g egg whites (around 4-5 large eggs)
- 700g caster sugar
For the filling:
- 450ml double cream
For the topping & decoration:
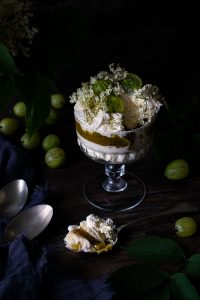
- 250g mix of summer berries (whichever are you favourite!)
- 8 tbsp strawberry jam
- 1-2 tbsp warm water
- A few edible flowers, sprigs of mint or a little icing sugar to finish
Method
- 1. Begin by lining two large baking trays with some baking parchment
- 2. Use a round 10cm cookie cutter to draw 8 circles on the baking parchment (4 on each) & set aside for later
- 3. Pour the sugar out onto a lipped baking tray & place in the oven to warm through for 5 minutes as you pre-heat it to 100C
- 4. Place the egg whites into a large clean bowl or the bowl of a stand mixer & begin to slowly whisk them
- 5. Once the egg whites have started to form bubbles & froth, increase the speed & continue to whisk until the eggs become thick, fluffy & hold stiff peaks
- 6. Remove the sugar from the oven & with the mixer still whisking, slowly add the sugar to the bowl, one spoonful at a time, waiting until the previous spoonful has been fully incorporated before adding the next
- 7. Once all of the sugar has been added to the meringue, continue to whisk the mixture for a further 5 minutes
- 8. Take a little bit of the meringue & rub it between your fingertips, if you can still feel any grains of sugar then keep beating the mixture for another few minutes until the sugar has dissolved, feeling smooth & you can no longer feel any grains of sugar
- 9. Next, you can either add the meringue to a piping bag & use it to pipe meringue nests, using the drawn out circles as a guide or, alternatively, you can simply add dollops of the meringue inside each circle & use the back of a spoon to spread & create a hollow dip with the meringue
- 10. Bake the meringue nests at 100C for 1 hour, 15 minutes, until they can be easily peeled away from the baking parchment & feel firm & crispy outside
- 11. Once the meringue is baked, turn the oven off & leave the meringue inside the oven to cool for at least 2 hours, or preferably overnight
- 12. Once the meringue is cooled, pour the double cream into a large, clean bowl & use a whisk or a hand mixer to whip up until thick & holding peaks
- 13. Dollop the whipped cream in the middle of each meringue nest
- 14. Next, make the strawberry sauce by simply combining the jam & warm water in a small bowl or jug until you have a nice drizzling consistency
- 15. Add a spoonful of the strawberry sauce on top of the cream, laving it to drizzle down the edges of the meringue
- 16. Finally, add your berries to each one & finish with some edible flowers or a light dusting of icing sugar
- Prep Time: 15 mins
- Cook Time: 15 mins
You Might Also Like:

Comments (No Comments)

Hi! I'm Katie!
This is a test placeholder and it will be updated
Leave a Reply