
Pandoro
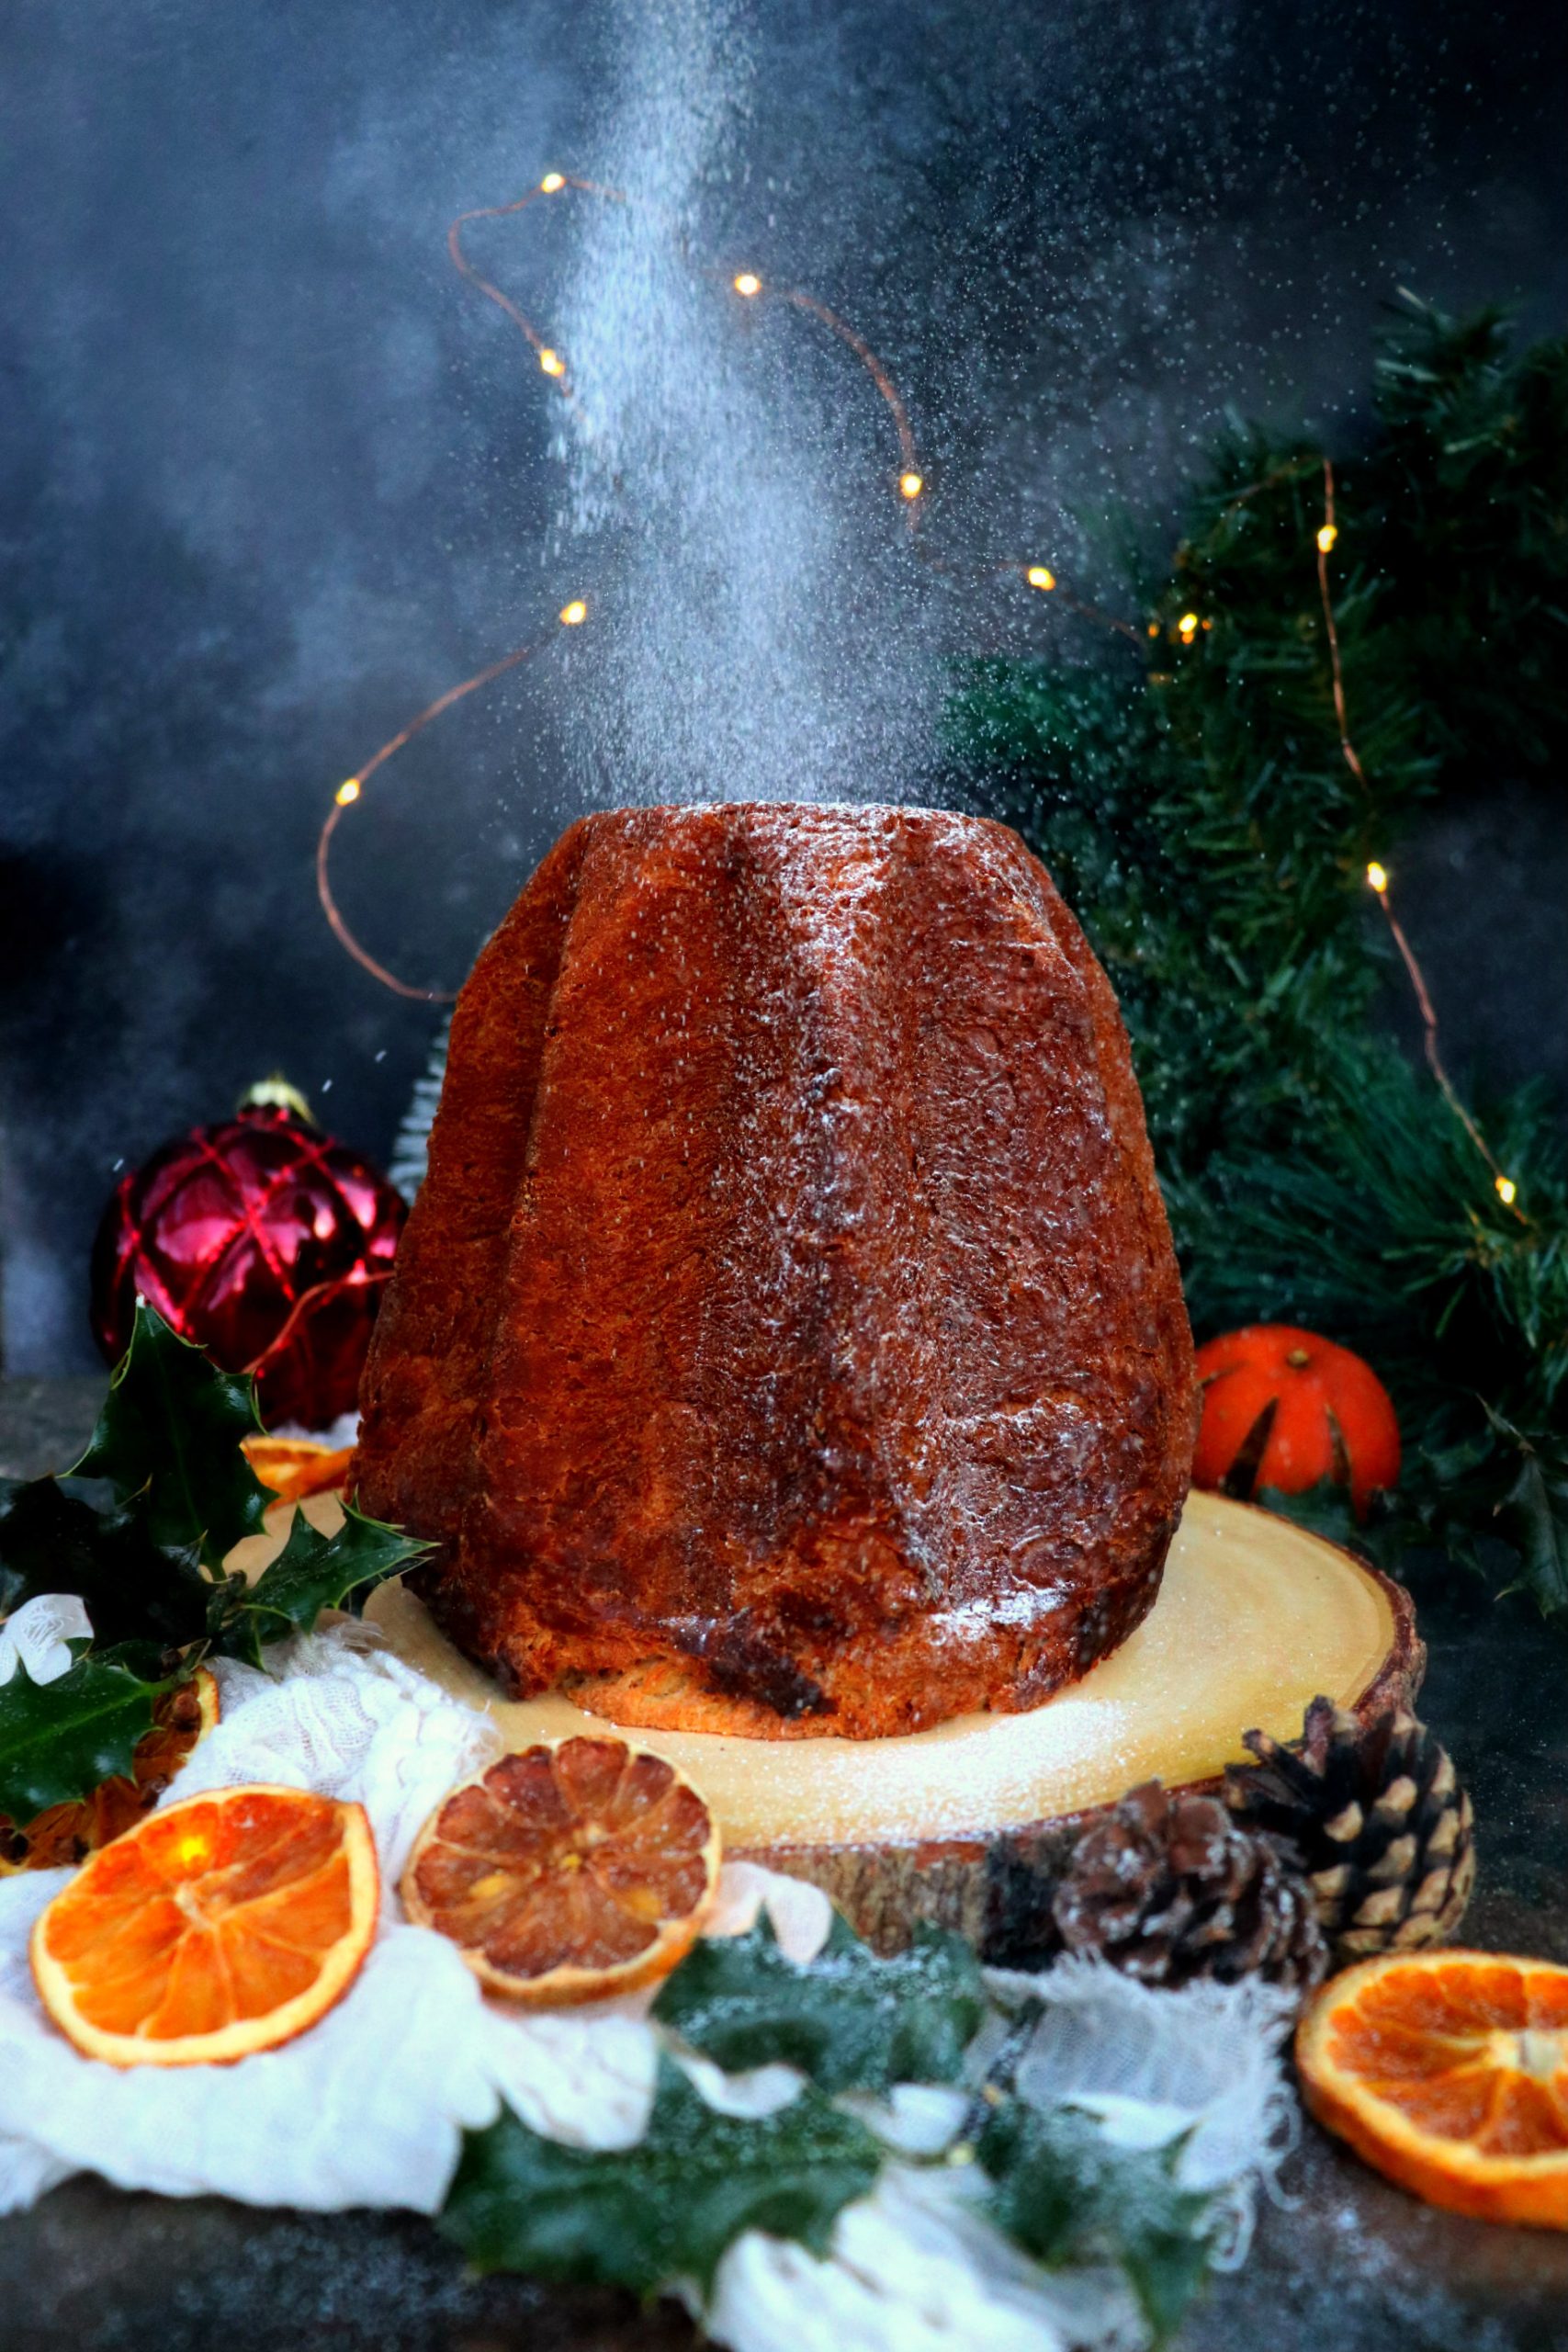
Buon Natale! Merry Christmas! As much as I wish I could’ve spent some time in Italy this Christmas like we’d planned, 2020 had very different ideas. Instead, I’ve got bring a little bit of Italy to me this year, obviously, done via my little kitchen. I can’t think of a single thing more synonymous with an Italian Christmas than a pandoro, a delicate, star-shaped, cake-like bread.

It’s name actually translates as ‘golden bread’ (already festive AF), it’s believed this is in part to do with the colour it gets from the egg yolks within the recipe or, perhaps it’s down to the fact that this simple, yet rich bread used to be decorated with gold leaf for ancient Venetian aristocrats.

Originating in Verona, it was a local pasticcere (pastry chef) named Domenico Melegatti that is famed with the creation of the pandoro we know today, an eight-pointed star-shaped bread, modeled after the mountains near Verona. In 1894 he was granted patent rights to produce a cake under the name of ‘pandoro’ & it immediately became popular with wealthy Venetians. You can still buy commercially produce ‘Melegatti’ pandoro throughout Italy, all of which as still produce in Verona.

Most Italians still prefer to buy their pandoro ready-made from the local pasticceria or supermarket owing to the long process involved in making it. A true pandoro will always should go through four lengthy stages of rising & three of resting. However, for the dedicated baker, this can be a very rewarding process. With food being one of the main components of Christmas festivities in Italy (also within my own home), it’s that one time of year where we do make these, special, once a year treats, even if they require a little more effort.

There are few other dessert which literally look like a Christmas tree (top tip, cut your pandoro into horizontal slices & stack the points alternately), with it’s pointed star shape, duster with white sugar snow. It’s this shape & lack of candied fruits which sets the pandoro apart from it’s, often confused with, sister, the panettone. It’s pandoro’s beautiful appearance & simple nature that actually make it the preferred choice form Christmas as it can be decorated or filled with cream, chocolate or mascarpone.

This recipe does take some time to make but the effort it well worth it for the light, golden, brioche-like filling with a brown, sugar dusted outer. Bring a little Italian culture into your Christmas & indulge in a slice of pandoro for breakfast, or with a glass of processco after Christmas dinner, or simply with a good cup of coffee whenever the feeling the takes you.


Pandoro
- Author: Katie Lewis
- Yield: One large 500g pandoro
Ingredients
Stage 1 (biga/pre-dough):
- 50g strong white bread flour
- 60ml milk, warm
- 7g dried fast acting yeast
- 20g caster sugar
Stage 2:
- 60ml milk
- 30g butter
- 100g caster sugar
- 1 large egg
- 3g fast action dried yeast
- 200g strong white bread flour
Stage 3 (final dough):
- 200g strong white bread flour
- 25g caster sugar
- 2 large eggs
- Zest of 1 lemon
- 1/4 tsp salt
- 25ml vanilla extract
Stage 4 (lamination):
- 140g butter
To finish:
- 4 tbsp icing sugar
Method
Stage 1 (biga/pre-dough):
- 1. In a large bowl, combine the flour, yeas & caster sugar
- 2. Add the milk & butter to a small saucepan & gently heat until the butter has melted (or you can do this in the microwave) set aside to cool until just lukewarm
- 3. Beat the egg into the milk mixture before pouring into the bowl over the dry ingedients
- 4. Mix everything together until well combined & a soft dough forms
- 5. Cover the top of the bowl with a tea towel & leave to rise for about an hour to an hour & a half, until it has doubled in size
Stage 2:
- 1. Once your dough has risen & doubled in volume, place the next measurement of milk & butter into a small saucepan & gently heat until the butter has melted
- 2. Add the caster sugar, egg & yeast to the pan & beat together
- 3. Pour the milk mixture over the dough & mix to combine
- 4. Next, add the flour to the bowl & mix until it forms a dough once again
- 5. Cover the dough with a tea towel & leave to rise for one hour to one & a half hours, until doubled in size
- 6. Once it has risen & doubled in volume, add the remaining flour, caster sugar, eggs, lemon zest, salt & vanilla to the bowl & combine until a smooth, sticky dough has formed
- 7. Cover the top of the bowl with a tea towel once more & leave to rise again for one hour to one & a half hour until doubled in size
Stage 3 (final dough):
- 1. Once risen & doubled in volume, knock the dough back with your hands to release any air bubbles before shaping into a ball
- 2. Place the dough into a clean bowl & cover with some cling film or a beeswax wrap
- 3. Place the dough to chill in the fridge overnight
Stage 4 (lamination):
- 1. The next day, remove the dough from the fridge (it should have risen overnight) & tip out onto a lightly floured worksurface
- 2. Use your hands to knock back the dough once more before using a rolling pin to roll the dough out into a large square
- 3. Take the remaining butter & beat until softened
- 4. Spread the softened butter all over the top of the square-shaped dough
- 5. Then, take each corner of the dough & fold it into the centre of the square
- 6. Press down to secure & seal the butter inside of the dough before rolling it into a rectangle shape
- 7. Next, take the top (short side) of the rectangle & fold this down two thirds of the way down the length of the dough
- 8. Then, take the bottom (short side) of the rectangle & fold this over the top of the piece you just folded downwards, to meet the top fold of the dough
- 9. Cover the dough & place it back in the fridge to chill for half an hour
- 10. Once chilled, re-roll the dough back into a rectangle & repeat the same folding process
- 11. Cover the dough & place it back in the fridge to chill for half an hour
- 12. Once chilled, lightly flour your work surface & roll out the dough back into a rectangle shape
- 13. Repeat the same folding method as before, then cover again & place back in the fridge to chill for 30 minutes
- 14. Once chilled, remove from the fridge & roll out the dough into large square
- 15. Take each corner of the square & fold into the centre of the dough until you have a smaller square
- 16. Repeat the process of folding in each of the corners of the dough into the centre before turning it upside down (so that the folds are now underneath) & use your hands to shape the dough into a ball
- 17. Place the dough into a greased 500g pandoro mould, cover with a tea towel & leave to prove for one to two hours, until the dough has doubled in size & is reaching the top of the tin
- 18. Once proved, baked the pandoro in the oven at 170C for 15 minutes
- 19. After 15 minutes, reduce the heat of the oven to 160C & bake for a further 35-40 minutes, until a skewer inserted into the centre of the cake removes cleanly, with no dough stuck to it
- 20. Once baked, gently remove the pandoro from it's mould whilst it's still hot & place in a cooling rack to cool completely
To finish:
- 1. Once cooled , dust the pandoro all over with the icing sugar before serving
- Prep Time: 15 mins
- Cook Time: 15 mins
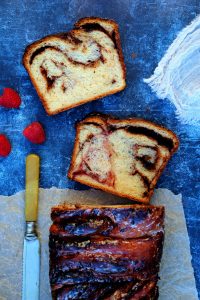
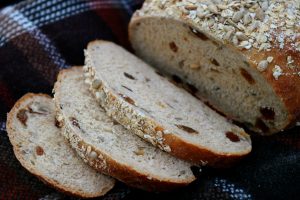
You Might Also Like:

Comments (No Comments)

Hi! I'm Katie!
This is a test placeholder and it will be updated
Leave a Reply