
Summer Berry Pavlova
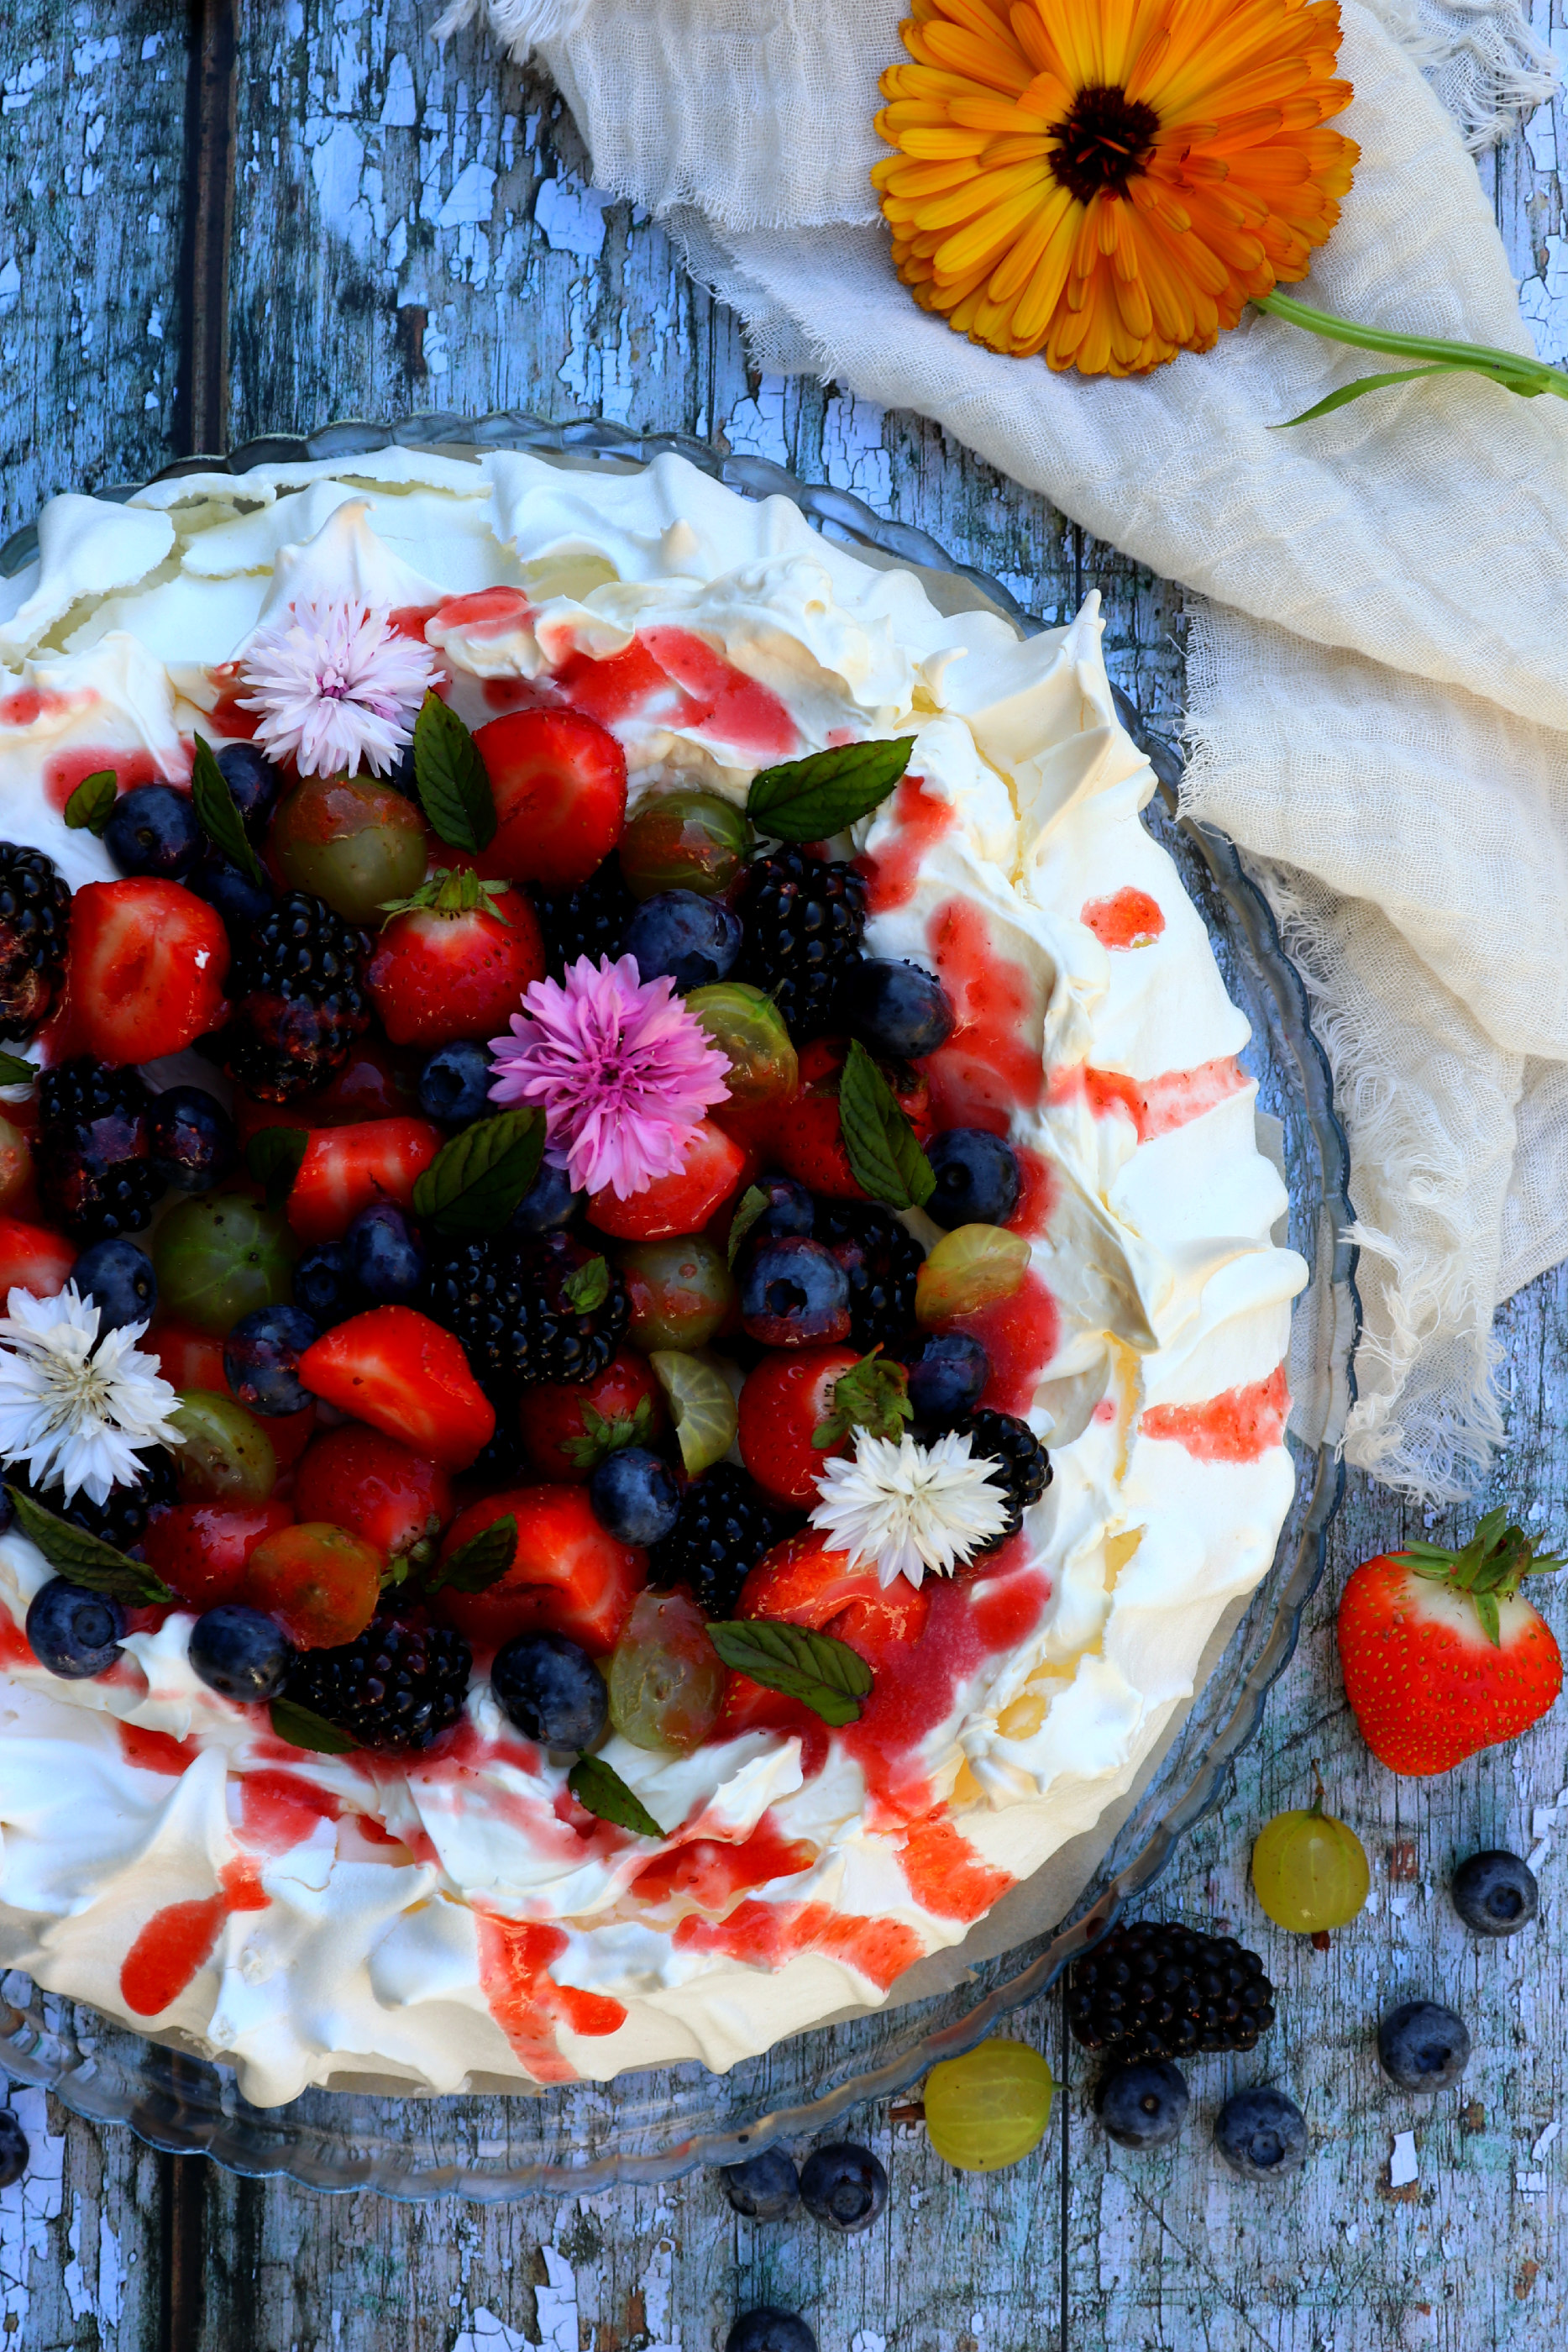
What’s the dessert you most associate with summer? Perhaps it’s ice cream, trifle, eton mess or cheesecake? Well, for me, it’s a pavlova! A light, fresh dessert in summer, filled with ample seasonal fruits… it’s the dessert that you can always find room for, not matter how full you really are.

A crisp outer shell & marshmallow-like middle, finished with rich whipped cream & fresh fruits… what’s not to love? With such contrasting textures, a sweet, fresh flavour & colourful, fruity displays this is quite possibly the most sensually pleasing dessert there is.

It’s said that the pavlova originated in Australia & New Zealand, where it was known as ‘cream cake’. The dessert was later named after a Russian ballerina names Anna Pavlova. It is believed that the dessert was created in her honour during a tour of Australia in the 1920’s (what I wouldn’t give to have a dessert named after me).

Nowadays, the humble pav can usually be found made for a celebration (or any given week in my house). Not just for summer though, the pavlova was made to be dressed up with an assortment of toppings. Whilst I prefer it during the summer, it’s just as nice made with stewed fruits in the winter or something a little more decadent (usually booze) at Christmas time.

I’ve kept my summer berry pavlova to the basics… a crispy, billowy meringue filled with cream & topped with an assortment of seasonal berries either picked from the garden or found in my fridge. You’ll only need a few store cupboard ingredients to pull off this classic summer showstopper & it’s well worth the whisking.

The perfectly imperfect dessert, full of cracks, fractures & uneven sides, the pavlova isn’t trying to be anything other than a cracking dessert. It’s beauty lies in it’s topping, fresh, colourful summer berries & a little drizzle of a lightly sweetened strawberry sauce.

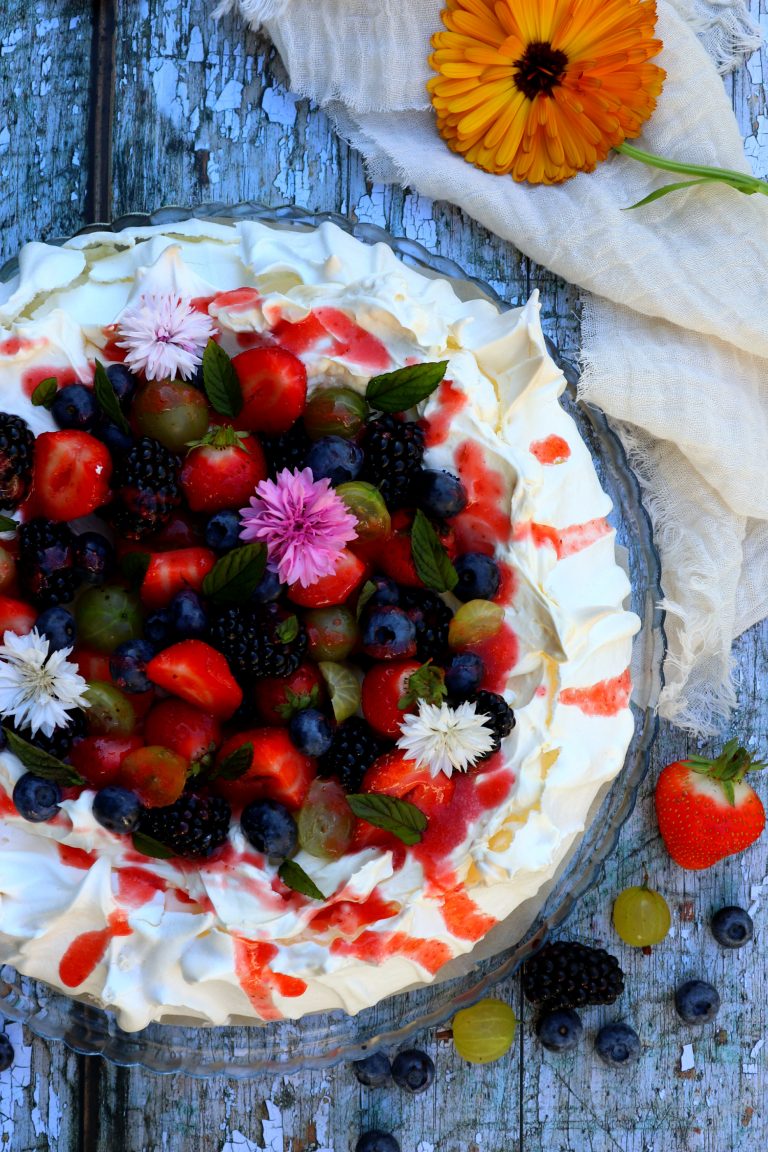
Summer Berry Pavlova
- Author: Katie Lewis
- Yield: 20cm pavlova
Ingredients
For the meringue base:
- 6 large egg whites
- 350g caster sugar
- 1 tsp vanilla extract
- 2 tbsp lemon juice or white vinegar
- 2 tbsp cornflour
For the filling:
- 350ml double cream
For the topping:
- 200g strawberries
- 2 tbsp icing sugar
- 400g mixed summer berries
Method
- 1. Begin by lining a large baking tray with a sheet of baking parchment
- 2. Use a cake tin or anything round to draw out a 20cm circle in the centre of the baking parchment, set aside for later
- 3. Pour the sugar out onto a lipped baking tray & place in the oven to warm through as you pre-heat it to 130C
- 4. Place the eggs whites into a large clean bowl or the bowl of a stand mixer & begin to slowly whisk them
- 5. Once the egg whites have started to form bubbles & froth, increase the speed & continued to whisk until the eggs white become thick & fluffy
- 6. Remove the sugar from the oven & with the mixer still whisking, slowly add the sugar to the bowl, one spoonful at a time, waiting until the previous spoonful has been fully incorporated before adding the next
- 7. Once all of the sugar has been added to the meringue, continue to whisk the mixture for a further minute
- 8. Take a little bit of the meringue & rub it between your fingertips, if you can still feel any grains of sugar then keep beating the mixture for another few minutes until you can no longer feel any
- 9. Empty the mixture out on your prepared baking tray & use a spatula or a spoon to spread the mixture to fit the circle you drew earlier
- 10. Use the back of the spatula or spoon to create a hollow inside of the meringue , making enough space to fill later with the cream & fruits
- 11. Place the meringue nest into the oven at 130C for 15 minutes
- 12. After 15 minutes, reduce the oven temperature to 100C & continue to bake the meringue for a further hour
- 13. Once the meringue is baked, turn the oven off & leave the meringue inside the oven to cool for at least 2 hours, of preferably overnight
- 14. Once the meringue is cooled, pour the double cream into a large bowl & whisk until thick & whipped
- 15. Next, make the strawberry sauce by either placing the strawberries & icing sugar into a blender or use a hand blender to blitz everything together until smooth
- 16. To assemble the pavlova, carefully spoon the whipped cream into the central hollow of the meringue
- 17. Place your mixed fruits & berries on top of the cream
- 18. To finish, drizzle the strawberry sauce over the top of the pavlova & use the rest to serve
- Prep Time: 15 mins
- Cook Time: 15 mins
You Might Also Like:
Comments (2 Comments)
-
[…] yet so wonderful to eat. If you’re a little daunted by the thought of making a full blown large pavlova, which have a tendency to crack & break a lot more easily, then these mini ones are for […]
-
[…] 10 large egg yolks (keep those whites for meringues or a summer pavlova) […]

Hi! I'm Katie!
This is a test placeholder and it will be updated
Leave a Reply