
AD – Italian Herb Crackers
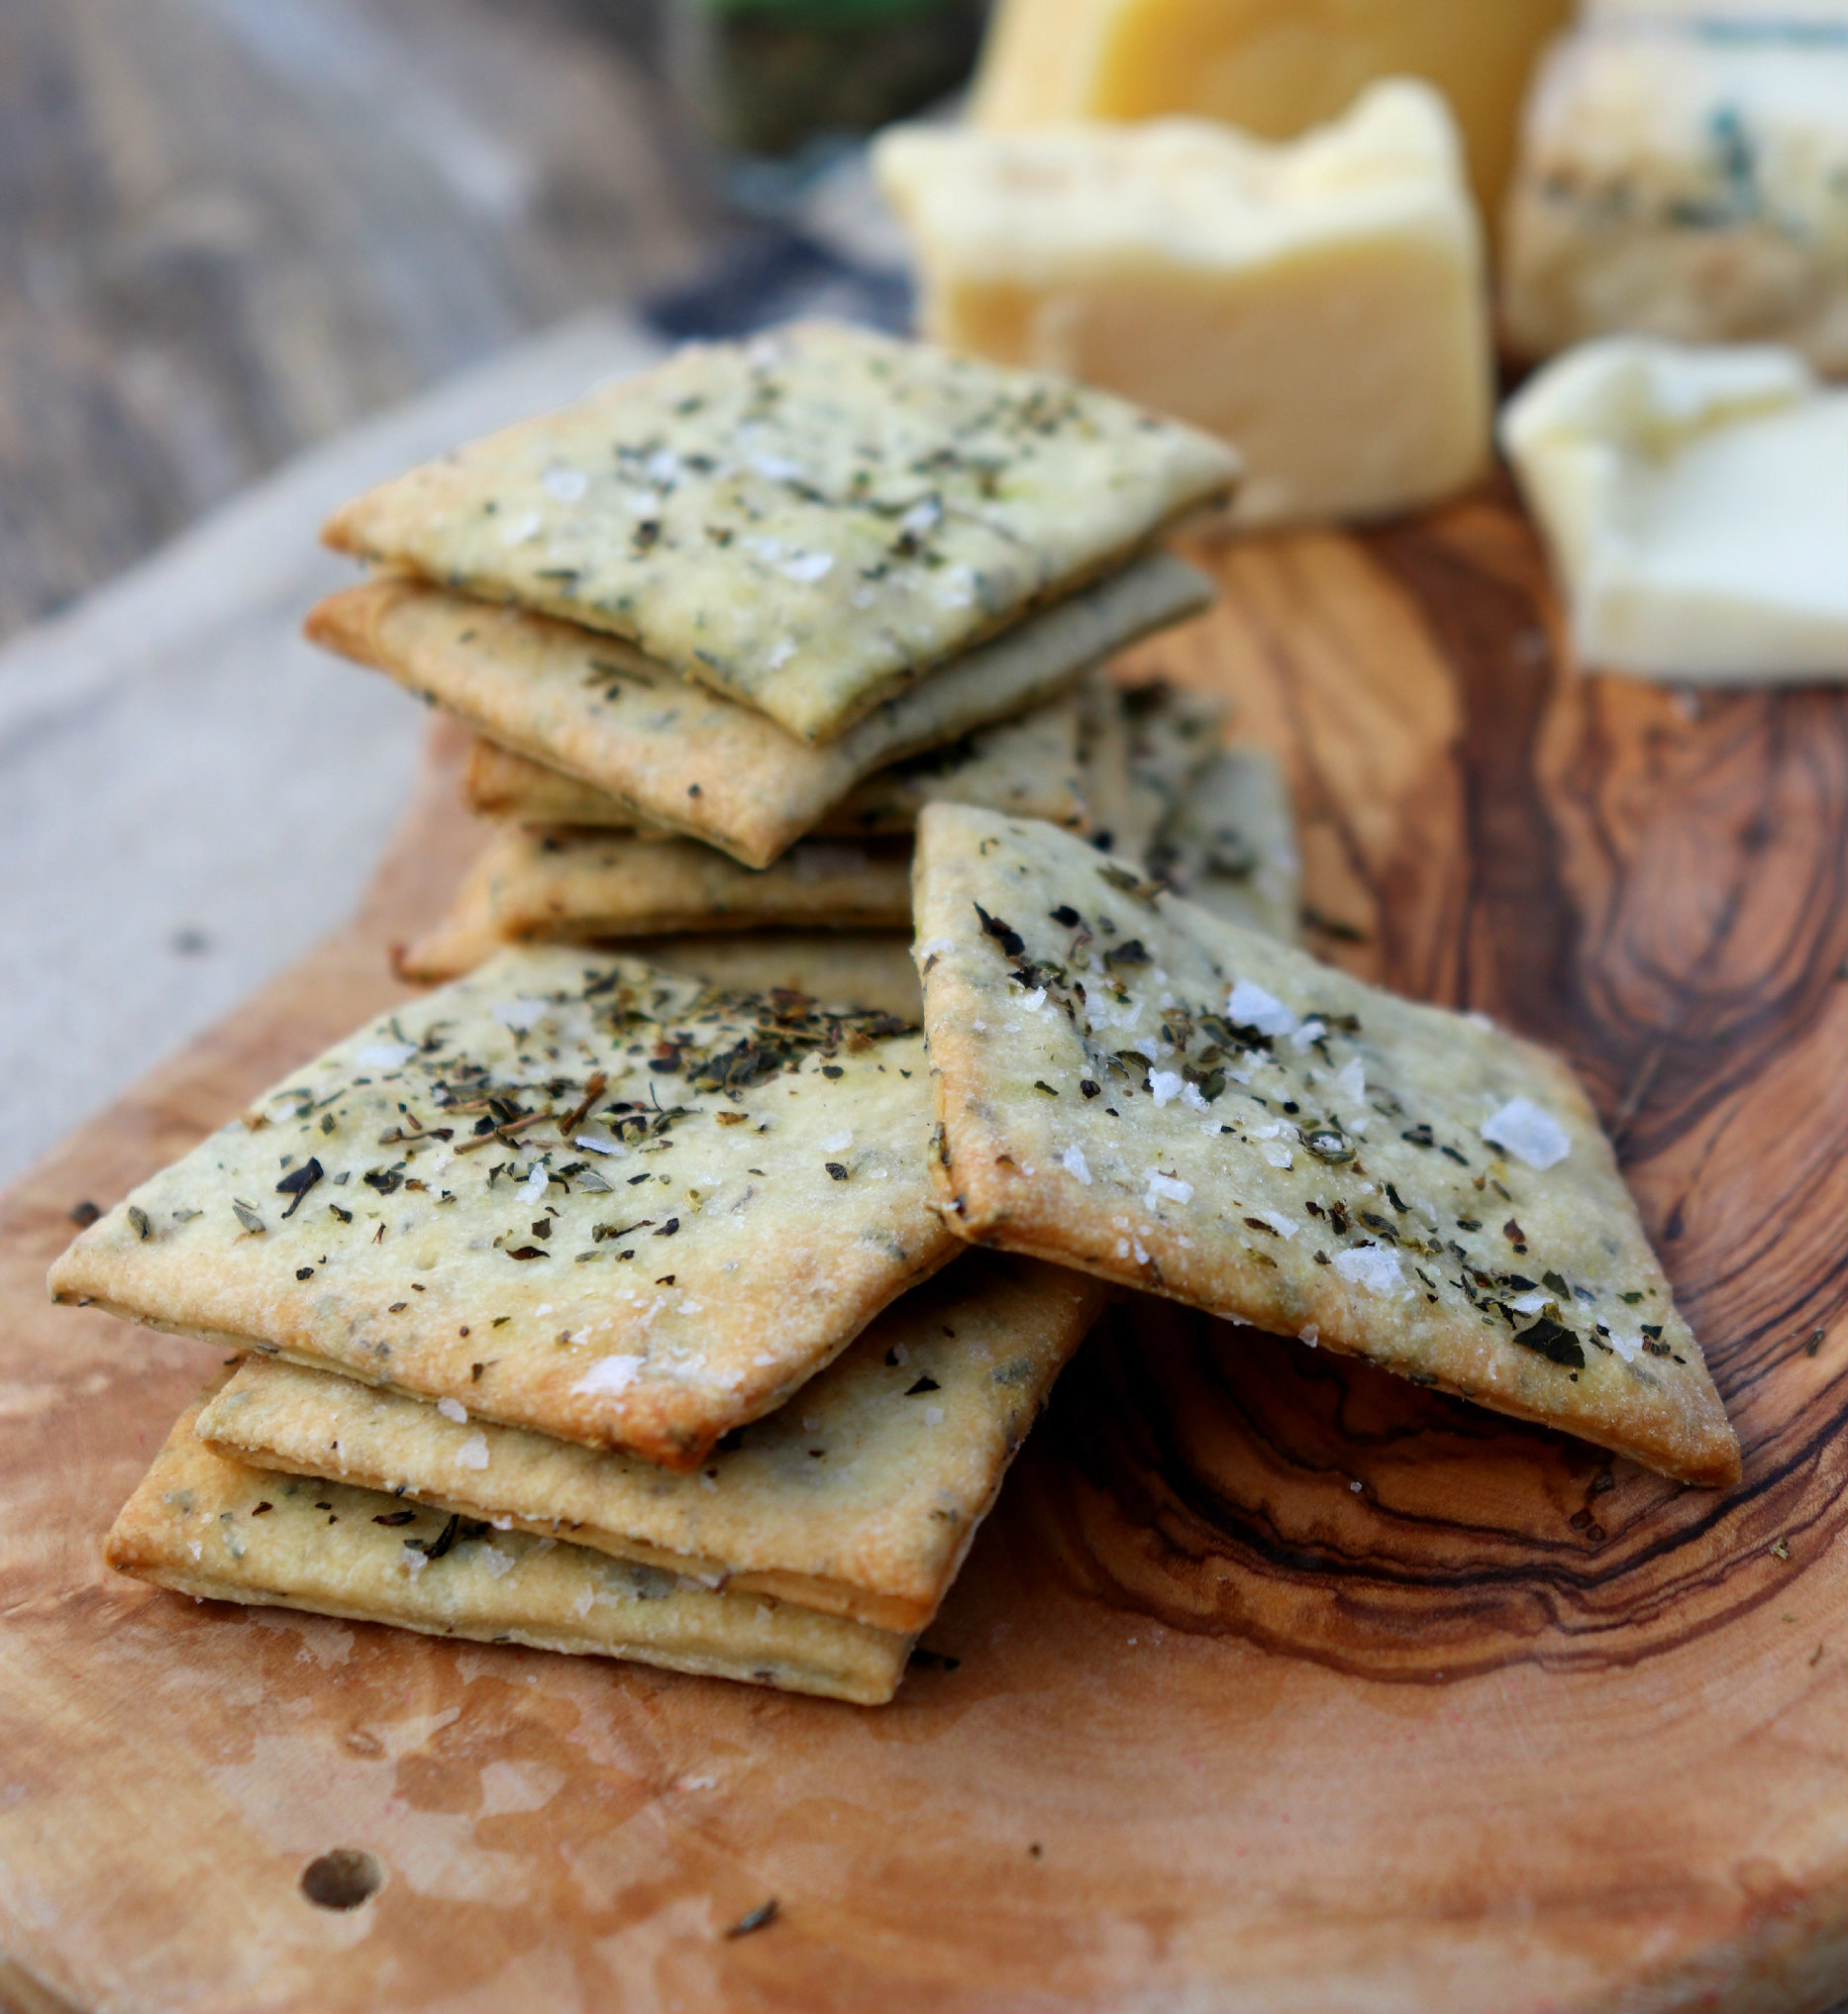
Crackers, the savoury cousin of the biscuit. Simple, crunchy & the perfect partner to a whole host of toppings. Eat them on their own, with meats, cheeses, dips or spreads. You can even crumble them into a steaming bowl of soup, like a cheat’s crouton with more substance.

In my opinion though, the main purpose of a cracker (or a biscuit for cheese is we’re being posh) is merely to act as a delivery vehicle for cheese. Crackers should be an oh so subtle addition, adding a hint of flavour but not one that’s so overpowering that it distracts from the mighty cheese itself, they should be partners, working together in a perfect cheesy harmony.

Crackers were originally invented as a type of biscuit that would have a longer shelf life than a traditional sailor’s biscuit, before the days of refrigeration, sailor’s required foods that would survive sometimes weeks out at sea. These became known as hardtack or sea biscuits & became incredibly popular amongst sea-farers due to its prolonged shelf life without spoiling.

It wasn’t until the 1850’s that bakers began producing thinner crackers with a lighter texture which soon increased their popularity & they began to pop up on menu’s as an after-dinner palette cleanser. By the beginning of the 20th century home cooks started added different flavours to their doughs & crackers were being served with soups, salads, cheese & were commonly served at parties & thus began our love of the simple cheese & cracker.

When it comes to adding a light, simple flavour to pair with cheese, you can’t go wrong with turning to the store cupboard. Full of seasonings, herbs & spices, all the basic foundations for flavour. Dried herbs can often be overlooked but they’re not be underestimated, whilst they may not be as vibrant in colour or texture as their undried origins, they still pack in that almighty flavour.

For my simple, cheese carrying crackers, I wanted something simple but herby, taking inspiration from a cuisine that masters the balance between simple but flavourful food, Italian cuisine. For this I use Schwartz Italian Herb Mix, with a blend of oregano, thyme, basil, bay leaves, sage, parsley & black pepper, this spice mix is perfectly balanced to take the hassle cooking.

The best thing about using a mix of dried herbs is not only are they readily available in the supermarket but, like the hardtack that brought us the cracker, they keep much longer than their fresh counterparts, meaning that they’re always on hand to create something flavourful or experiment with something new.

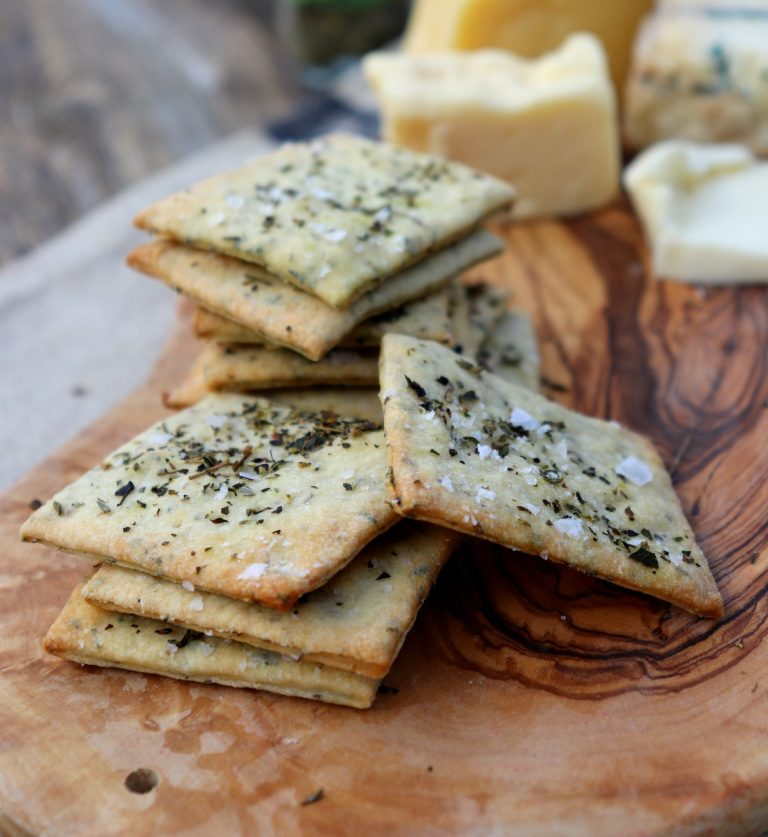
Here, my dried herbs work perfectly, bringing a delicious subtle flavour of the Mediterranean to my square, crunchy little crackers. I highly recommend pairing these with a good mozzarella or provolone cheese.

AD – Italian Herb Crackers
- Author: Katie Lewis
- Yield: 20 crackers
Ingredients
- 150g plain flour
- 1/2 tsp salt
- 1 tsp caster sugar
- 1 tbsp Schwartz Italian herb seasoning (plus 1 tsp for sprinkling)
- 80ml water
- 2 tbsp olive oil (plus 1 tbsp for brushing)
- 1 tsp sea salt (to sprinkle)
Method
- 1. Begin by mixing together the flour, salt, sugar & herbs in a large bowl
- 2. Make a well in the middle of the dry ingredients & pour in the water & olive oil
- 3. Mix together until it begins to form a dough (if it's a little wet, add in a little more flour, 1 tsp at a time)
- 4. Lightly knead the dough to bring together until it's smooth
- 5. Place the dough onto a floured surface & roll out into a rough rectangle approximately the same thickness as a £1 coin
- 6. Use a sharp knife or a pizza cutter to cut the dough into squares roughly 2 inches wide on either side & place onto a parchment lines baking tray
- 7. Use a fork to prick a set of three holes in the squares
- 8. Brush the tops of the crackers with the extra tbsp of olive oil & sprinkle over the remaining herbs & sea salt
- 9. Bake the crackers in the centre of the oven at 200C for 10-12 minutes, until the edges begin to turn golden & they begin to feel firm & crisp
- 10. Leave the crackers to cool on the tray for 10 minutes before removing & leaving to cool completely on a cooling rack
- Prep Time: 15 mins
- Cook Time: 15 mins
You Might Also Like:

Comments (5 Comments)
-
What is the shelf life of the crackers? Thank you..
-
They keep well in an airtight tin for about 2 weeks. You can always pop them back in the oven for a couple of minutes to crisp back up too.
-
Thanks. I have only made sourdough crackers before.
-
Oh that sounds nice! Have you got a recipe?
-
I use my sourdough starter discard. Do you make sourdough bread?
Here is one recipe.https://www.sourdoughandolives.com/recipe/sourdough-crackers/

Hi! I'm Katie!
This is a test placeholder and it will be updated
Leave a Reply